How To Stream DIGITAL LIZARD IPTV On Roku TV With a Step-By-Step Guide
IPTV on Roku Installation Guide
The following instructions will show you how to install Digital Lizard IPTV on Roku
However, these instructions for installing IPTV on Roku will also work for any device variation you prefer.
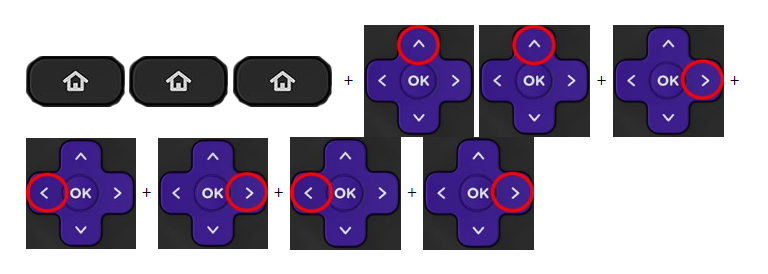
1. Open your Roku device and click the following buttons on your remote:
- Home button 3 times
- Followed by the Up button twice
- Then Right button once
- Left button once
- Right button once
- Left button once
- Right button once
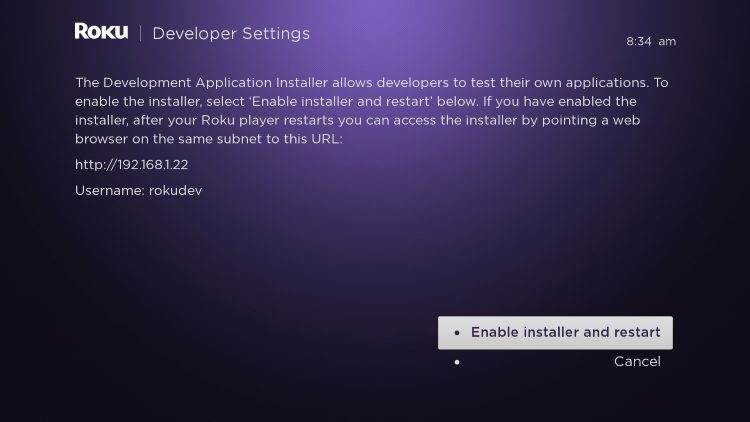
2. This will then launch the “Developer Options” screen
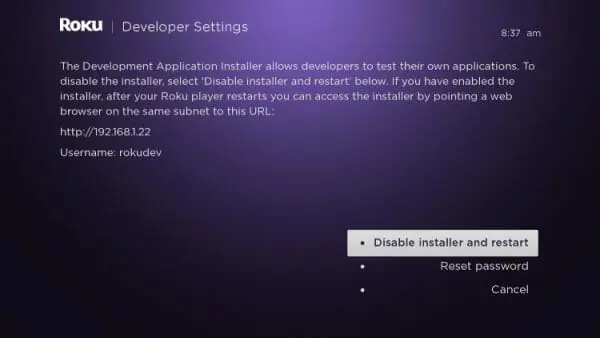
IMPORTANT: You must make a note of the provided URL that we will use later.
In this instance, the URL is http://192.168.1.22. Yours will be different
Click Enable installer and restart
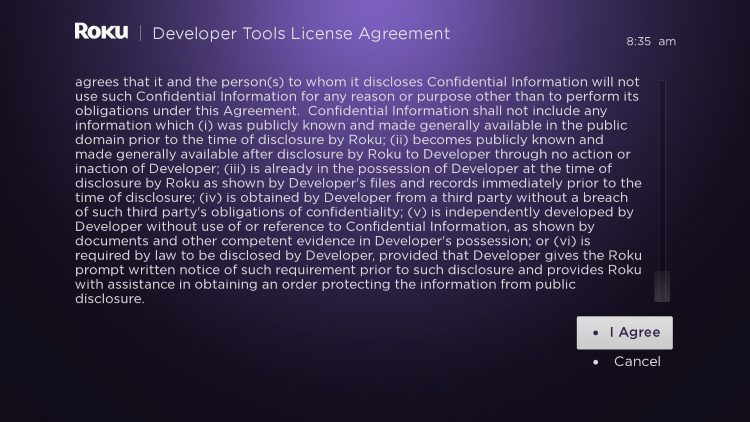
3. Scroll down and click I Agree to Developer Tools License Agreement
4. When prompted, enter a PIN Number of your choice click Set password and reboot
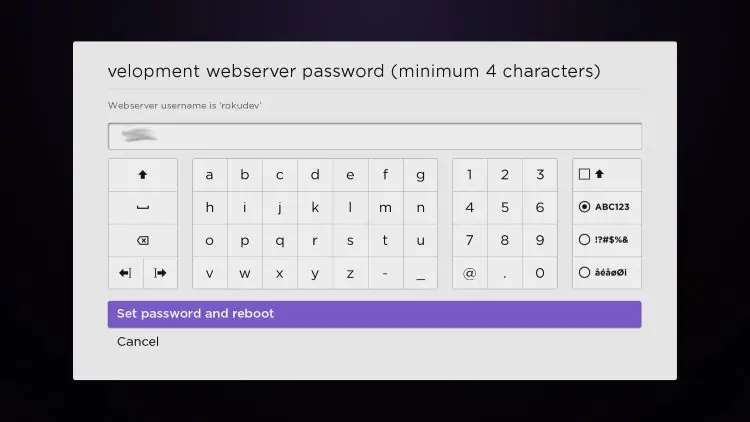
5. Your device will restart
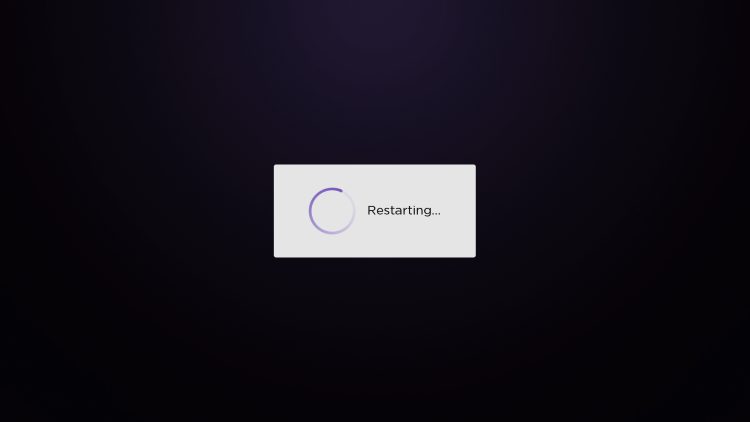
6. Enter the Developer Settings prompt again (Step 1) to make sure Developer settings are enabled
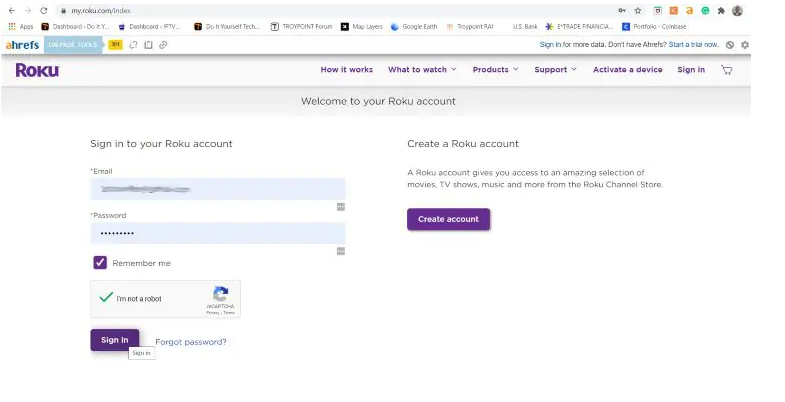
7. We will now open a browser on our computer and go to my.roku.com. Enter your account information and click Sign in
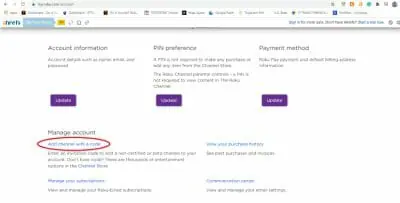
8. Choose Add channel with a code
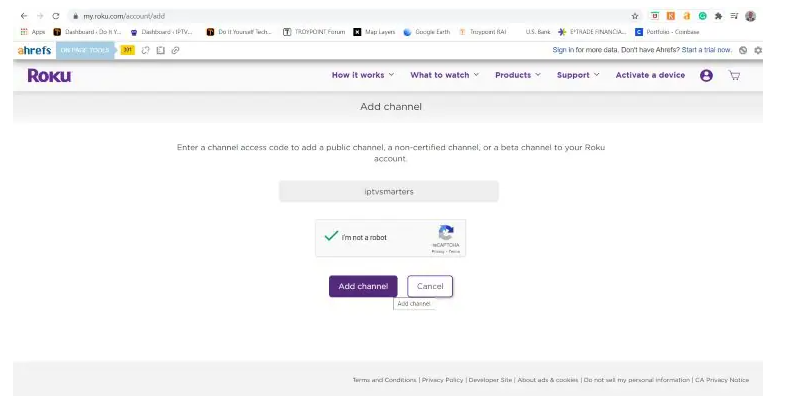
9. Type iptvsmarters and click Add channel
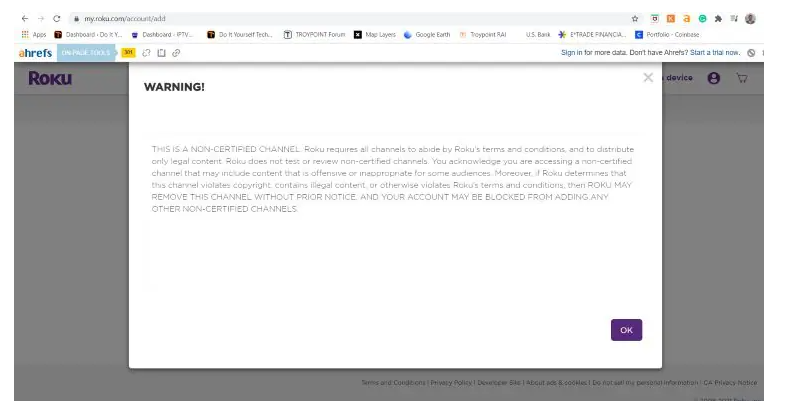
10. Click OK
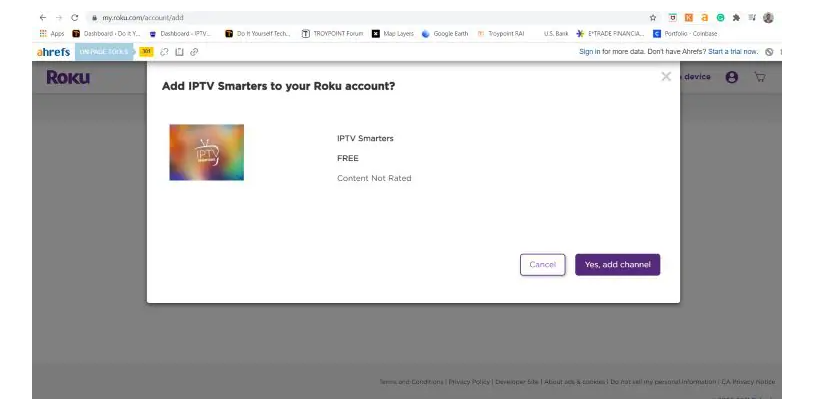
11. Click Yes, add channel
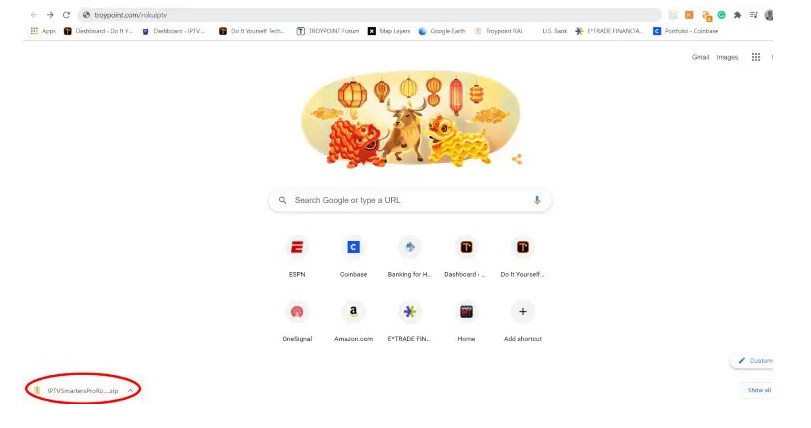
12. Next, we must install IPTV Smarters file onto our computer for upload. On your browser type, troypoint.com/rokuiptv and the file will install
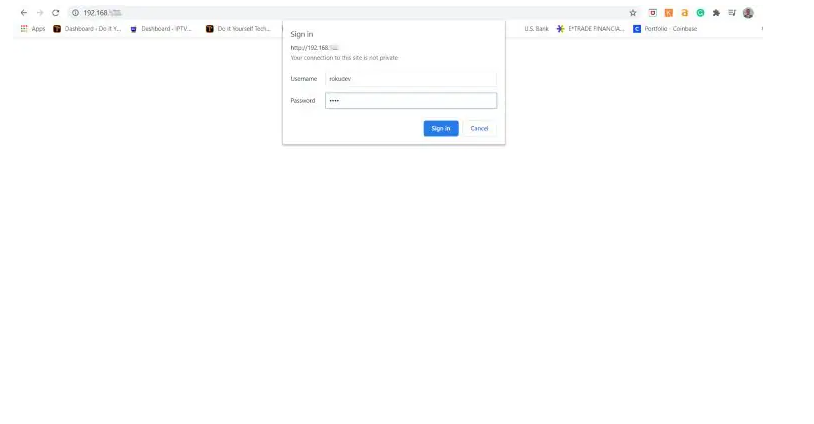
13. We will now go to the IP URL from above on our browser and Sign In with username: rokudev and password we created earlier
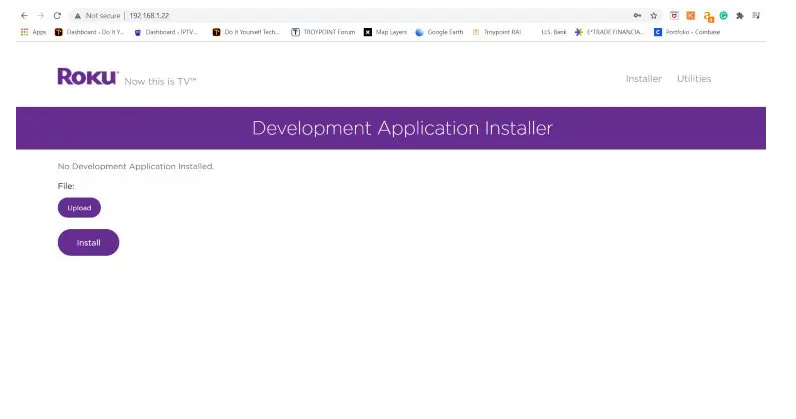
14. Click Upload
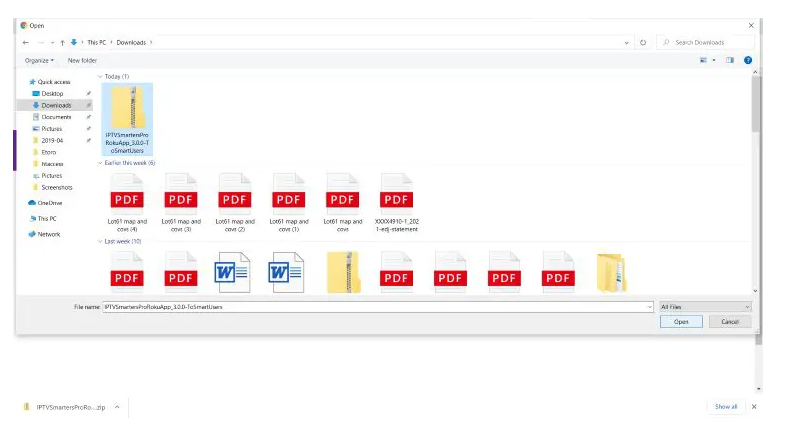
15. Choose the previously downloaded IPTV Smarters file
16. Click Install
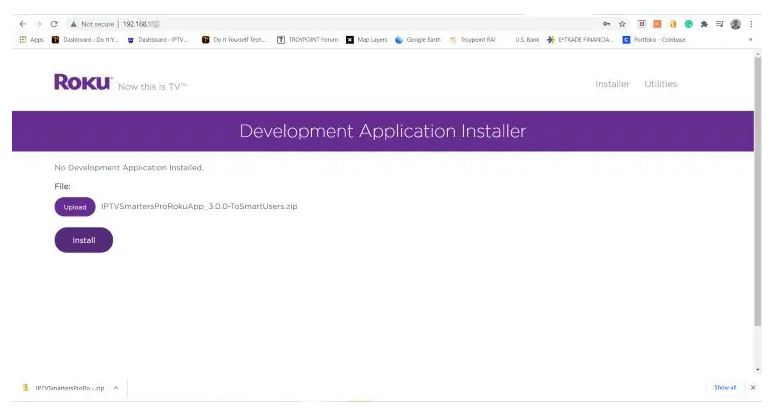
17. You will then encounter Application Installed Screen
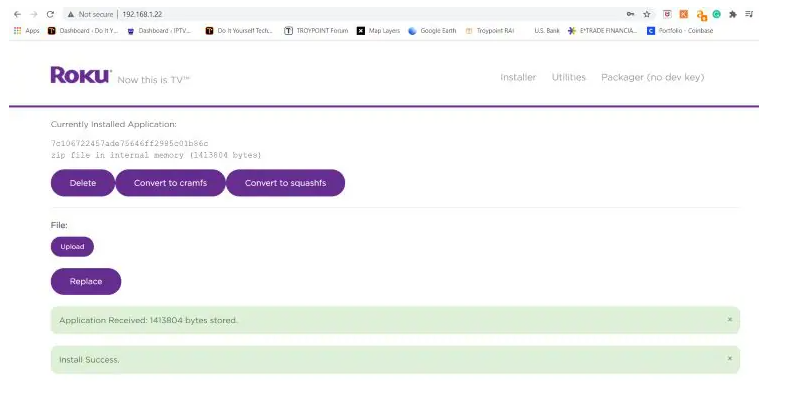
18. Return to your Roku Device where the application will automatically launch
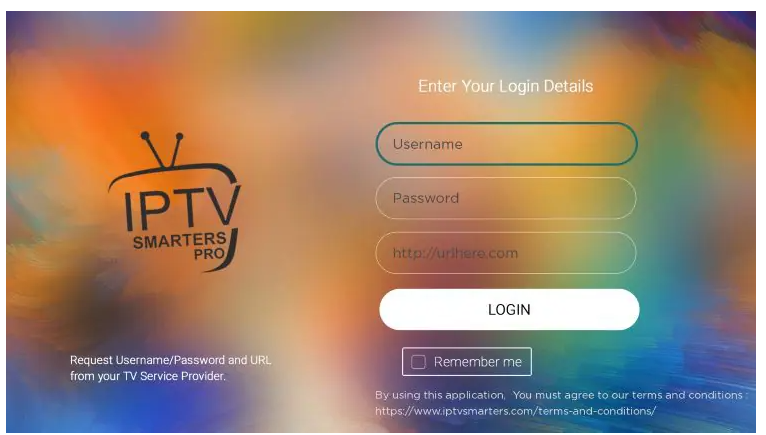
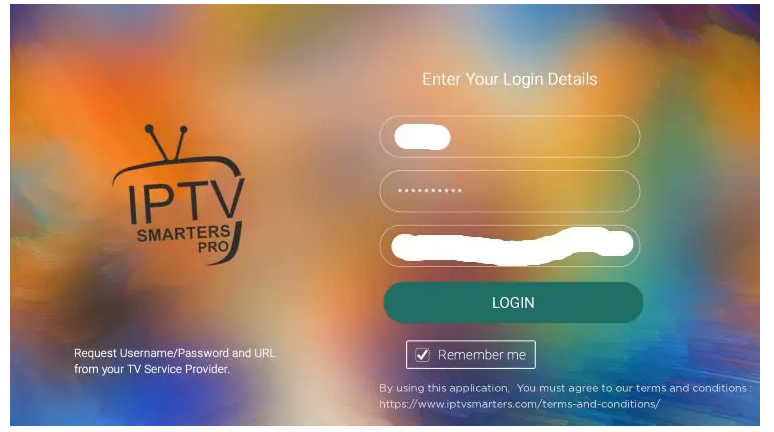
19. Enter your Digital Lizard IPTV login credentials and click Login. Enjoy!
